
January 30, 2017
fzr 250 project.
fzr 250 project.

well i bought the bike way back in feb 2005, suffered terribly with it (carbs what else) spent an arm and a leg trying to get it to run, fucked it in the corner of the shed out of sheer frustration and went on in my biking life with a succession of gsxr’s and yzf r1’s etc.
But getting the little fizzer going has always been in the back of my mind, back in 05 there was really no info on them, being a jap import and all the manuals in japanese, most mechanics here wouldn’t touch them and nobody really knew anything about how to keep them running.
but things have changed, theres the internet, google translate and web forums so theres always an answer to be found somewhere, so decided why not try and just gonna give it a go as something to do over the winter.
so up on the lift she went:
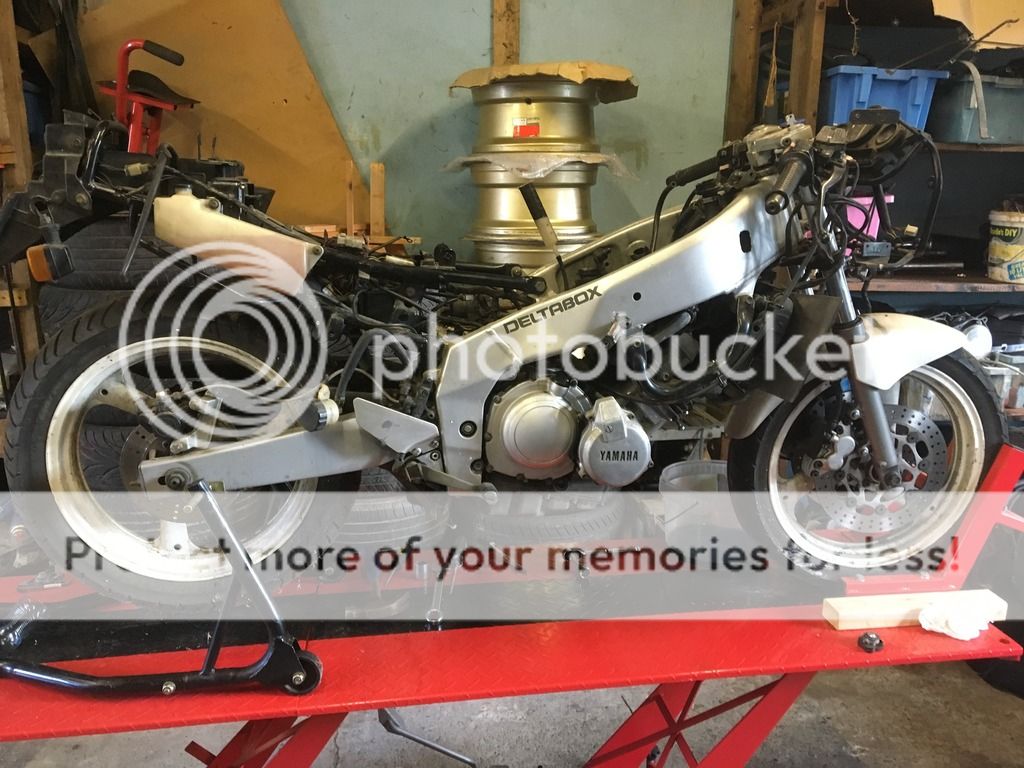
first up was to get her running but the carbs were in a horrible state from being idle so long.
This is a before pic of the carb bodies, I don’t have any of the inside of the carbs, but they were proper gummed up.

so i whipped them out and ordered a rebuild kit from Litetek and a few weeks later these arrived:

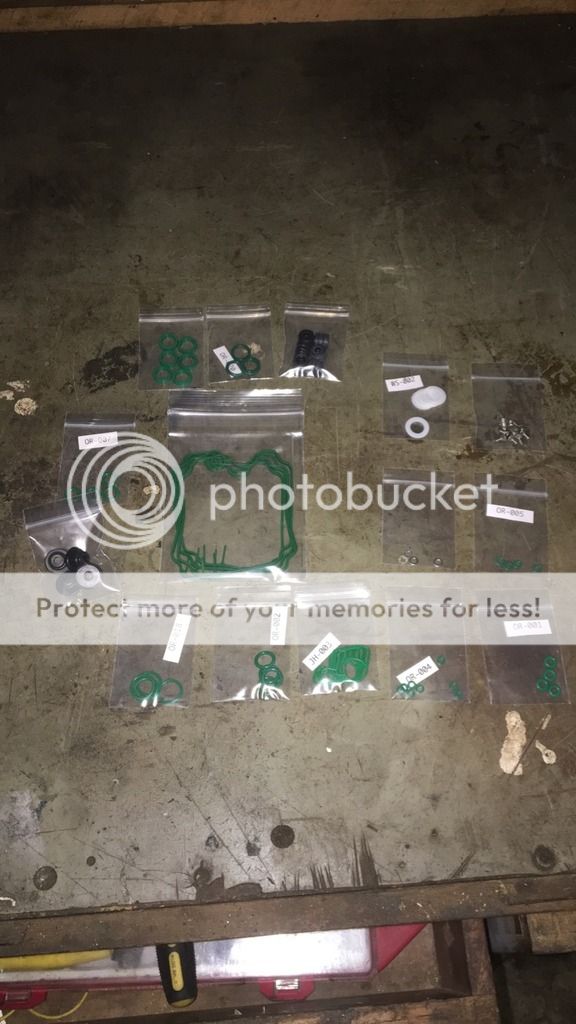
It’s a really comprehensive kit and fair play to the owner of litetek (Blair) for manufacturing them as even when i first got the bike back in 2005, carb kits and seals in particular were absolute unobtainium.
So anyway I knocked up an organiser out of some scrap wood to keep everything nice and together and most importantly in order!! And begun stripping: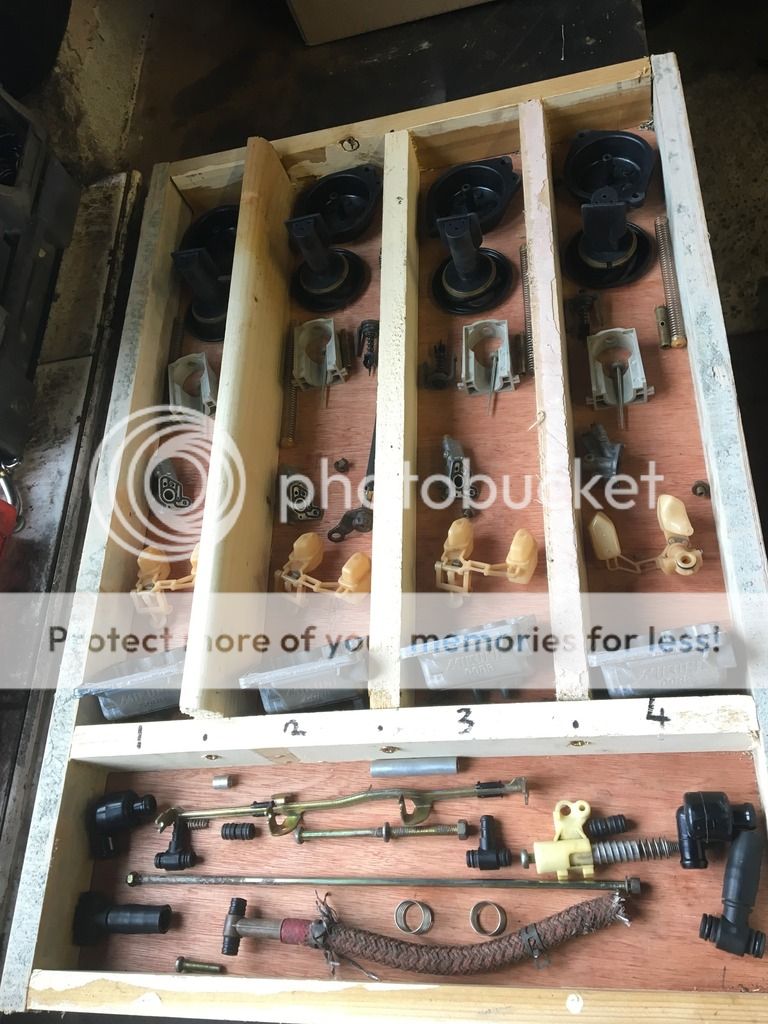
New throttle shaft seals, before and after:


New jet housing and needle housing seals:

Seals for the jets themselves:

New seals for the mixture screws:

Seals for the floats:

Float bowl seals:

I comprehensively cleaned the carbs, first in an ultrasonic cleaner, then removed and cleaned with a set of carb brushes I got off ebay and finally blew out all the channels with compressed air and carburettor cleaner, the results I think speak for themselves.
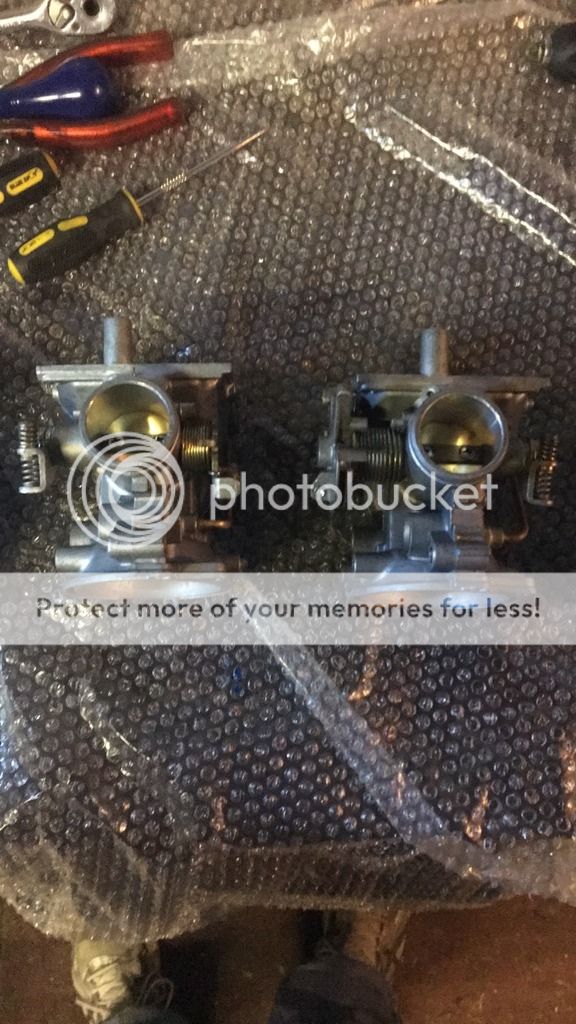


So after all that, and a quick bench sync, it was time to fire her up and see how she ran………..